NOTE: This article discusses an older version of Capture One Pro. To learn more about our latest version, click here.
Capture One plays such a significant role in my post processing workflow, but it also plays an essential part during the photoshoot itself. Throughout my shoot I’m tethering, checking focus, organizing, culling, applying initial adjustments, and color grading. All of this helps me and my team dial in the feel of the shoot and make sure everything is as it should be.
Mood Boarding For Inspiration, Style, and Color Harmonies
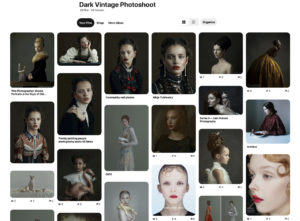
I feel the most inspiring part of the pre-production for a photoshoot is the moodboarding. This is where I get to bring out my creativity by deciding the aesthetics, colors, lighting, and concept. My most dynamic images are created through finding harmony in all of these factors.
I prefer using Pinterest for my moodboarding. As I build onto a concept I continually look back at my board as whole to make sure the aesthetic is consistent. I tend to go for around 25+ images and when I feel the moodboard is complete I can then send it out to my team. This ensures everyone knows what to expect and bring for the actual shoot day.
Lighting
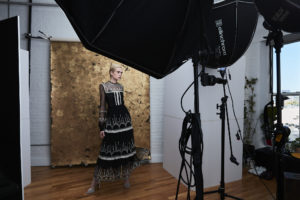
My sets are lit with Elinchrom strobes and modifiers. I love creating soft, dramatic lighting that adds to the feminine aesthetic that’s shown in most all my work, so for this reason I’m often using large modifiers with double diffusion so the light will wrap around my models and create gradual transitions between highlights and shadows. My set ups generally range from using 1-3 lights. The Litemotiv 120cm, Rotalux Octabox 100 cm (39″), and Rotalux Octabox 175 cm (69″) are my favorites. All three of those modifiers create a beautiful diffused light with a wrap around quality that the modifiers are known for. I’m almost always using double diffusion, but now with Elinchrom’s stackable external diffusers for Rotalux I can triple my diffusion- for all that dreamy softness.
Technical Settings
For anyone curious about settings in studio, most settings are pretty similar. Typically I’m shooting around 1/160th, anywhere from f/5 – f/9, and staying close to ISO 100. Depending on what kind of look I’m going for or what I’m shooting this might differ slightly. After I have these basic settings, the main thing I have to focus on for getting a proper exposure is the power of my strobes.
Cropping & Composition
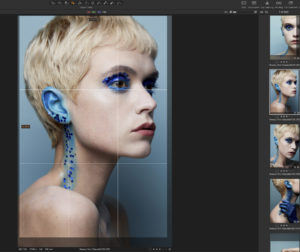
With Capture One 20 it’s now easier to crop quickly and effectively since you can see the edge of the crop with new handles. You can also quickly access freehand rotation by either moving the cursor outside the corner of the crop or by using the modifier key. When I’m shooting and composing an image through my viewfinder I’m always trying to create balance. For my style of photography I’m watching to make sure my model either has room on the sides of the frame or if it’s a tight crop that I’m not creating tension with where I’m cropping. I’m looking to avoid tangents or any unbalanced composition. I try to utilize lines, contrast, and color to create aesthetically pleasing visuals with balance.
Tethered Shooting
As mentioned earlier, every shoot in studio I’m tethering to Capture One. My tethering cord is 15 ft / 4.6m long, so I have the ability to move around my studio space with ease. Tethering allows me to focus on details I might not initially see while looking through my viewfinder and it allows for my team to spot those details too. Each team member can watch to make sure the work they did is coming through correctly. When I review images my eyes dart around making sure the lighting, composition, and other details are just as I want them to be. I can also better organize my incoming images by naming and organizing them. Final major benefit for me is that if my settings aren’t looking spot on, my digitech can easily adjust my camera settings through Capture One if I’m tethered.
Focus Masking
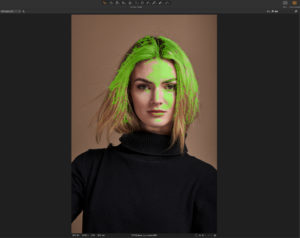
Quick tip here – use focus masking to quickly make sure you’re getting the correct focus. Focus masking creates a contrast-detecting layer on top of your images, marking the areas that are in focus with a green mask. This is especially helpful when I’m sorting through large batches of images. I use this as a general guide and am looking for eyelashes, eyebrows, lips, and texture to have that green mask on them. Don’t fret if your entire eye isn’t green, keep in mind this is just detecting contrast in your image.
Initial Adjustments Applied To All
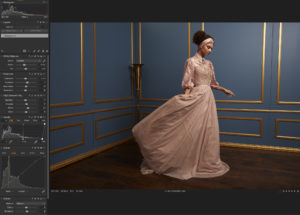
While I’m waiting for my model’s hair and makeup to finish I’ll ask to grab a lighting test shot. Not only does this help me dial in my lighting, but it also let’s me start all my initial adjustments based on the exposure and mood of my shoot. I’ll then apply these settings to all images that come in so my team will see a version that’s going to be closer to the finished image. To start, I’m adjusting my tools in the Exposure, High Dynamic Range, Levels, Curve, and Clarity tabs. After that I’ll go into adjusting my skin tone if needed and finish my initial adjustments with color grading. Throughout all of this I’m making slight adjustments that add up to enhance my image- I’m staying away from anything that starts looking too processed.
Color Grading
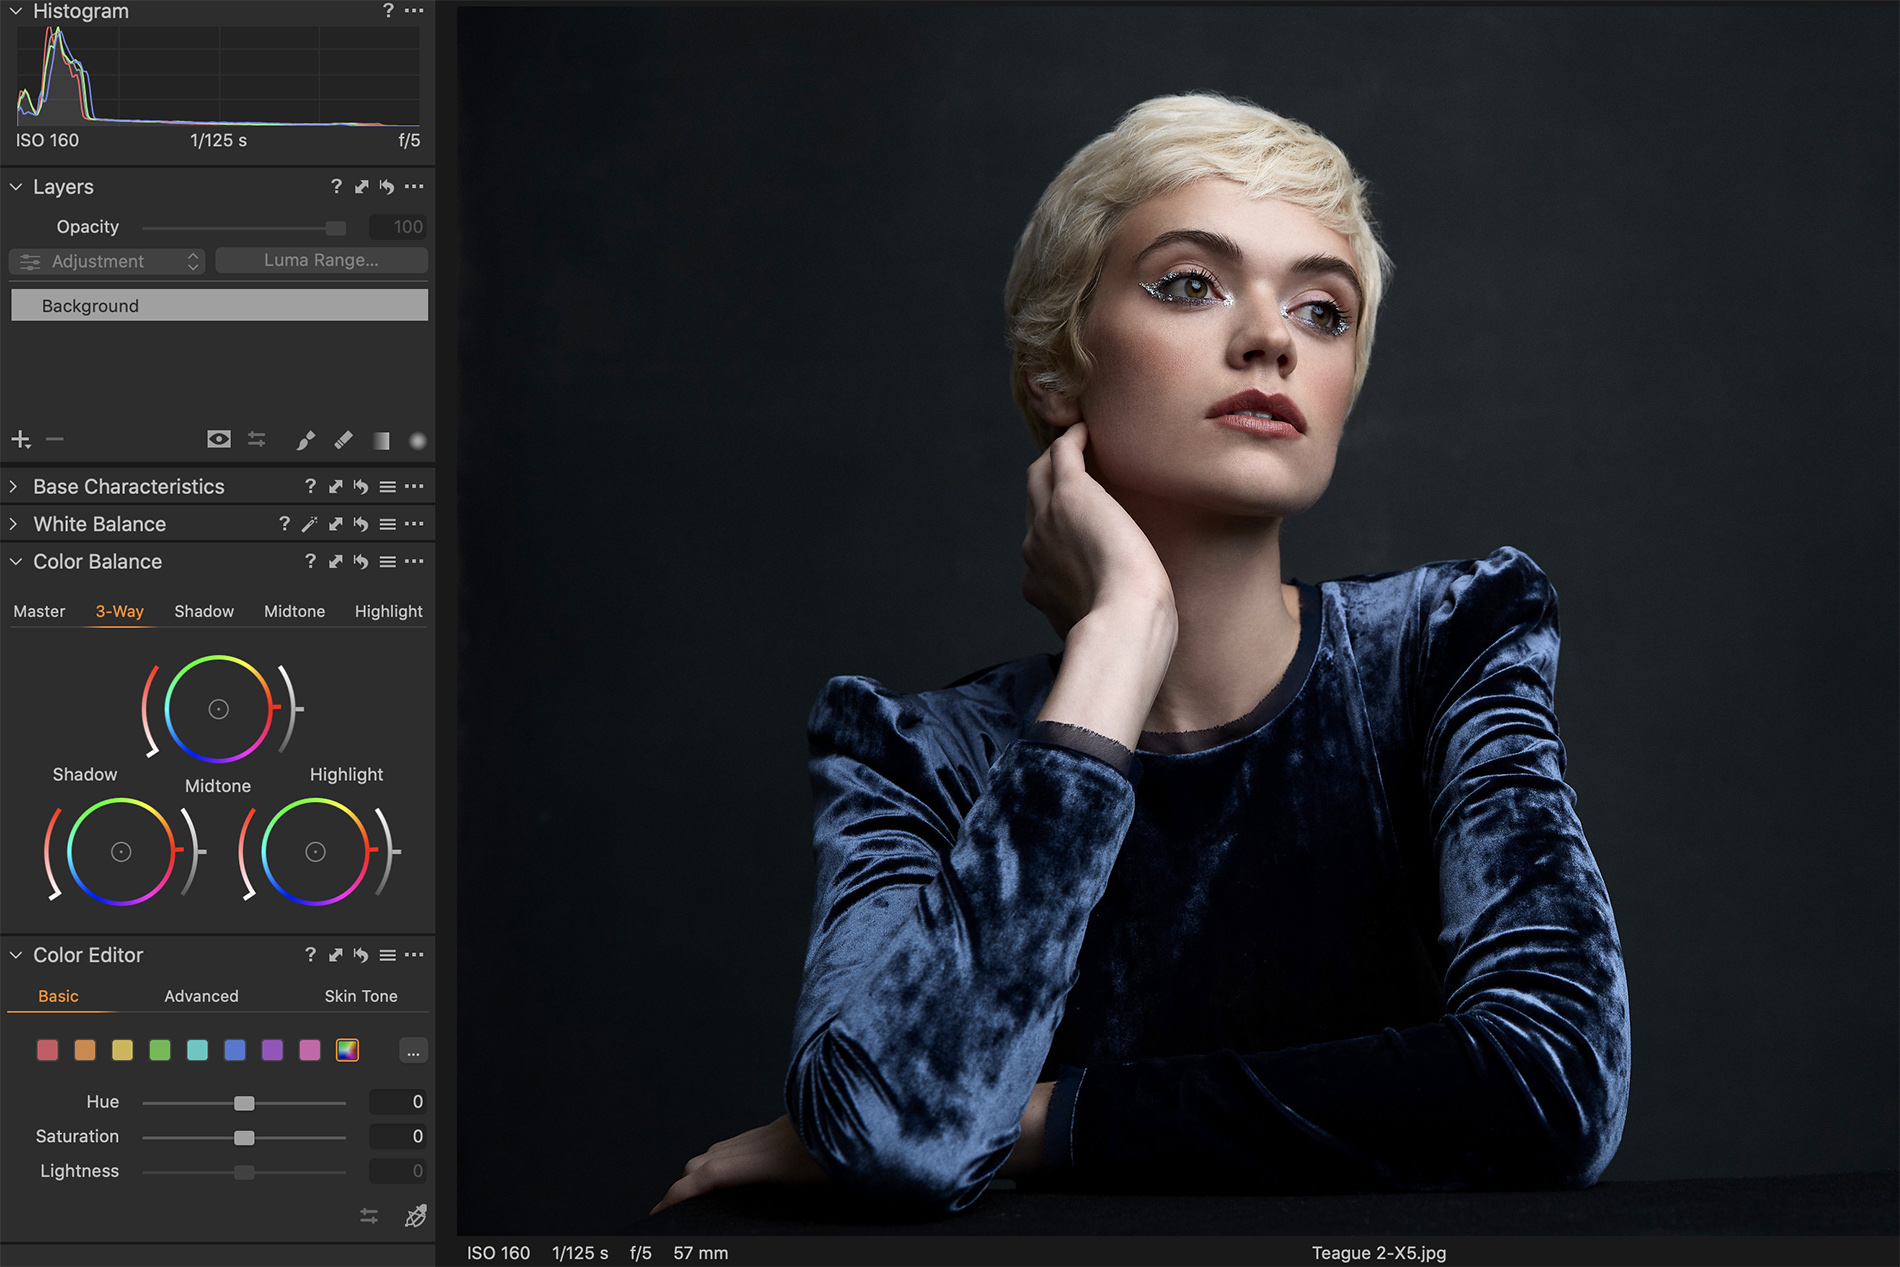
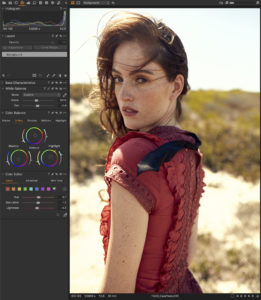
Color grading is where I get to take my work to the next level. Color in an image can entirely change the mood. I decide the color grade based off the feel an image has to it, but it’s common for me to stick with cooler tones for my shadows (blues, purples, greens) and warmer colors for my highlights that are mostly affecting skin tone (yellows mainly). I’m often keeping my midtones on the warmer side as well.
I’m using a couple different tools when working with color in Capture One including the Color Editor, Levels, and White Balance, but my favorite is the Color Balance tool which gives the option of Master (the overall hue of the photo), Shadow, Midtone, and Highlight tabs. Generally I start by sliding the color in my shadows around until I’ve found a hue that balances and works well with my image- again, normally this is a color on the cooler side. If I drag my circle farther to the edge of the color wheel I’ll get more saturated colors. I can also adjust this with the slider to the left of the color wheel. After I’ve decided the color and the amount of saturation I want, I can then tweak the luminosity of that shadow color with the Luma Slider to the right of the color wheel. For my shadows I’m generally sticking to the darker side of luminosity and vise versa for my highlights.
I also like to try to balance my color grading based on the existing colors in an image. Thinking about color theory I know I can work off of complementary colors, split complementary colors, analogous colors, triadic harmonies, tetradic harmonies, or monochromatic harmonies. This gives me a lot of room to play.
Culling
One helpful thing I’ve started doing in the past year is culling images during the photoshoot. I do this during hair, makeup, and wardrobe changes. If I’m shooting an editorial I generally have 6 looks and over 1,000 images to sort through. It can feel daunting to have to sort through them all at once later in the week, so I try to do myself a favor and get it done while the images are still fresh and coming in. It’s also nice to be able to show the best images to my team.
Everyone has their own process for culling, but I prefer to start by stars. I’ll go through all of the images and sort anything I like with 1 star. Once I’m finished I’ll go through the 1 stars and the images I love will get 2 stars. And so on. This usually goes until I have just a few 5 star images. If I’m needing to sort further because images are being used for different things then I’ll sort by color as well.
Two quick tips to help make culling easier-
- Drag out your image catalog with the arrows on the side of the column to see more or less images.
- Hold shift to view multiple images. You can then rate images while doing this. If you’re sorting by x amount of stars or higher and rate an image with a lower number and then hold command when clicking the image it will remove it from your selection.
Working With Capture One in Studio
Shooting with Capture One in studio has made such a difference in my workflow. It speeds everything up, provides a better experience for myself and my team, and gives me the quality of RAW editing I need.
If you don’t already have Capture One, you can download a 30-day trial and try it out.
